Wednesday, January 20, 2016

I'm Sorry... B|M Design Team Post


Hello crafty friends, I'm dropping in to share a card using paper piecing with stamps. It's really easy and if you don't have fancy markers it's a great way to add color to your stamped images. 

All you need is your favorite stamps and some solid or patterned cardstock. First you are going to stamp your images on your background. This will help with placement, and also keep any lines that are too tiny to cut.  (the strings on the side are from the first stamping)

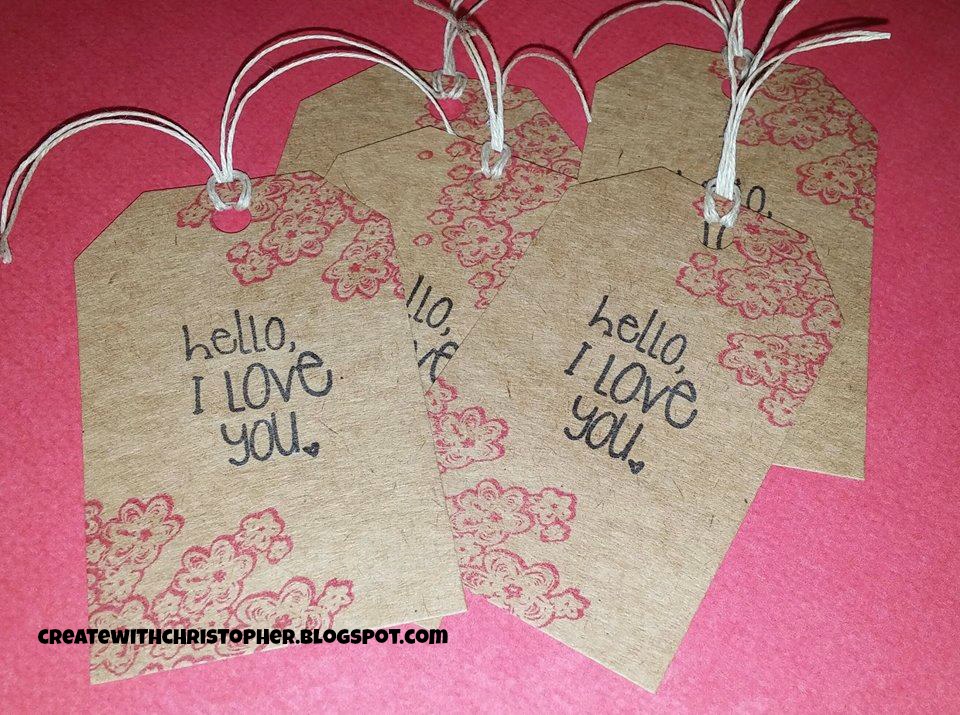
Next, grab your coordinating cardstock and stamp your images, again. I used 3 different papers for this card, the tops are a kraft color the blue and pink are just random scraps.  Fussy cut all the pieces. 
I inked the edges of my pieces to give them some dimension. 

When you have all your pieces inked up, simply glue them down over the first stamped image. 

To finish off this card I added some sequins, hemp twine, and washi. I stamped the sentiment and just hand cut the word bubble. 

What I used: 
Brutus Monroe Stamp Sets:
Let's Ketchup! (facial expressions)
Jam 
Paper Scraps 
Momento Ink-Tuxedo Black 
Sequin 
Washi Tape 
Hemp Twine

THANKS FOR STOPPING BY -Chris 


Tuesday, January 19, 2016

Thanks OAK Tree DT Post


Good Afternoon OAK Tree Fans, I just wanted to share a few quick and easy Thanks tags I created.  I made them just to have back ups for cards or any other special thank you gifts I may need.  

All I did was....
1. Cut or buy pre-made kraft colored tags. 
2. Stamp with  your favorite image with Black ink. Would be really cool in white too...
3. Cut out thanks or any one word, in a fun color. Let it hang off the tag it's more fun that way. 
4. Glue on the center letters to your tag. 
5. Add sequins, hearts, stars, any bling really. 
6. Finish off the tags by adding twine that matches your die-cut word.


What I used:  
OAK Tree Stamps -Bear Hugs Stamp Set 
Cricut Explore 
Tag- Ashlyn's Alphabet Cricut Cartridge 
Hello You Thinlets Dies- Stampin' Up! 
Momento-Tuxedo Black Ink
Enamel Hearts- From Tuesday Morning 
Twine From Dollar Tree 
Paper Studio-Kraft Cardstock 
Recollections Colored Cardstock  

Thanks For Stopping By -Chris 


Sunday, January 10, 2016

Hello, I Love You!!!- ScrappyDew DT Post

I'm back creating
for ScrappyDew... I'm so excited to be back, I forgot how much fun these little guys are to paper piece.
What I used...

I Pick You 2012 ScrappyDew File
Pre-made Christmas card base from Hobby Lobby
Paper scraps-mostly recollections
Fun Stampers Journey- Bot Love Stamp Set
White Gelly Roll Pen
Various Tim Holts Distress Inks
Scrappy Dew-Facial expressions stamps
Red Rhinestone Bling

Thanks for stopping by make sure you check out ScrappyDew.com!!

-Chris


Thursday, January 7, 2016

Valentine's Day Tags for Pocket Letters


Good Morning Crafty Friends!!! I wanted to drop in to share these cute tags I created. I got them from Michael's for 50 Cents, not knowing what I'd do with them. I  signed up for a couple Valentine's Day Pocket Letter swaps so I figured I'd use them for that!!! The heart shaped one will probably end up in  an art journal.  


 \
I stamped the Girl in Black Licorice- True Color Fusion Ink.  I then randomly stamped the flowers from the same FSJ stamp set Media Artist. I colored her with markers, colored pencils, chalks, and a Gelly Roll pen.   


These will be going in Pocket Letters. I stamped the flowers in Sweet Berry- True Color Fusion Ink. then stamped the sentiment from FSJ's Stamp Set Bot Love.  I added Journey Twine to finish off the tags. I think they will look really cute in pocket letters!!! 

You can fin all the Stamps and Inks on over on my website; 

Thanks for stopping by!!!! 
 -Chris 

Tuesday, January 5, 2016

Paper Clips- Oak Tree Design Team Project

Hey Oak Tree Fans!!!  I am here to share another easy project using Oak Tree Stamps Digital Files with Print Then Cut on the Cricut Explore.  I am addicted to making paper clips for my planner and I figured I'd show you how quick and easy it really is to make your own.


1. First Print Then Cut your images (2 inches). You can make them whatever size  you'd like just make sure they won't take up your whole paper clip. 
2. Ink the edges. I just like to ink everything!!! (this step is optional) 
3. Cut out 1" circles or smaller depending on your images. 
4. Hot glue your paper clip to the back and add the circle over the glue. Make sure your paper clip is facing the right direction, see the pic below. If you glue both the rounded parts down you won't be able to clip it to your pages. 

DONE!!!!! Can't get much easier than that. The hardest thing is making sure you don't glue the paper clip upside down. They are so cute and you can use them for just about anything you can think of. I use mine for my planners, bookmarks, journals, and Pocket Letters.  

Don't these just look so cute peeking out... 
If you don't have the digital files, you can easily do this with the stamps and color them whatever colors you'd like. 

What I used : 
OAK Tree Stamps-Chibi Boy Expressions Coordinating Digital Files 
OAK Tree Stamps Hello Spring Digital Files 
Dollar Tree Jumbo Paper Clips 
Fun Stampers Journey Cardstock-Whip Cream 
Fun Stampers Journey Cardstock- Black Licorice 
Cricut Explore- Print Then Cut 
Tim Holtz Distress Ink- Black Soot 
Fun Stampers Journey- Punch Handle
Fun Stampers Journey- 1" Circle Punch 
Hot Glue Gun & Glue 

Thanks For Stopping By!!!
 -Christopher

Shop Here: oaktreestamps.com

Challange #254 - Anything Goes CGC

  The theme for our challenge this month is:  ~ Anything Goes ~  Our wonderful and very generous sponsors for this challenge are:   (listed ...